Tools:

  • Scissors
  • Skewer (or anything long and skinny to place on top of jar)
  • Cookware (Double boiler can be used also)

Supplies & Materials:

  • Used Candles
  • Candle Jar (Glass/Metal)
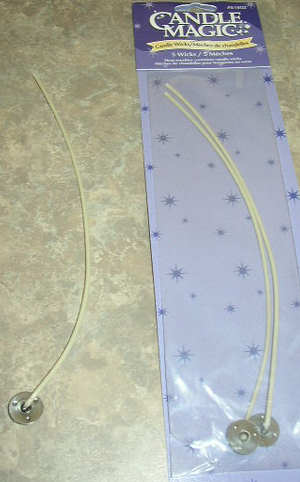
  • Candle Wicks

Refurbished Candles
Do you have candles laying around that have lost their life? Well, just by following this simple guide you can revive those tired candles and give them new life!!

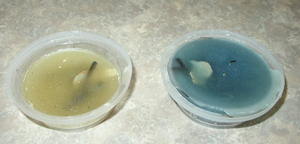
If you have a candle that is big, begin by cutting it into smaller pieces. This makes it easier to melt in the pot. Notice the size of the candles that I am using....this is a good starting size.

Step 1
(Please remember that not all containers are meant for burning candles. A good source for used candles jars are thrift stores, yard and tag sales. Do not use glass jars that are cracked or have any broken pieces)

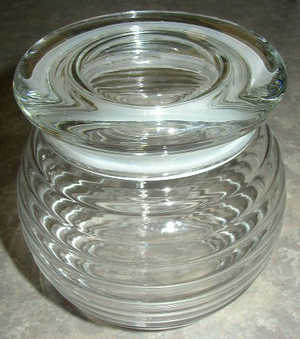
I have chosen a beehive style candle jar that I had leftover from another project. Make sure to thoroughly wash the jar. A good way to get candle film off of used jars is to soak it in hot tap water with a 10% bleach solution added to the water...this helps lift the wax off the glass.

Before adding any candle wax to the jar, make sure that the glass is room temperature. This prevents the glass from cracking once placed in water.

Step 2

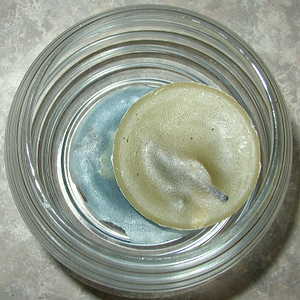
Now for the fun part!! You can add different color combinations and blend scentful candles to achieve a funky smell or just leave it plain. I chose to add a plain blue and vanilla scented cream candle together.

Be creative! This is the part where you can even add your own scents! Just remember to add a scented oil that is meant for candle burning...any thing else might cause the candle to burn faster and perhaps burst into flames!

Step 3

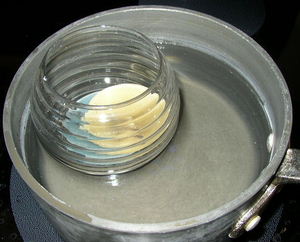
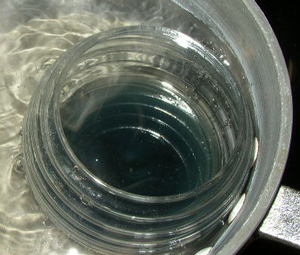
Add the jar to medium hot water (not boiling but not lukewarm either...in between is fine).

Allow the wax to melt completely. This can take anywhere from 15 to 30 minutes. If you find that it is taking longer to melt, just turn up the heat a little....but watch it! you don't want to overheat the jar!!

**Side Note: Make sure the water level stays high enough so that the jar does not touch the bottom of the pot. This could cause the jar to "dance" and possibly break...leaving you with a pot full of wax! Be careful!!!

Step 4

Choose a style of wick that you prefer. If you're not sure about what kind of wick to use, then check out some info about Wicks at the National Candle Association's web site. Be prepared for a lot of useful information!

Step 5

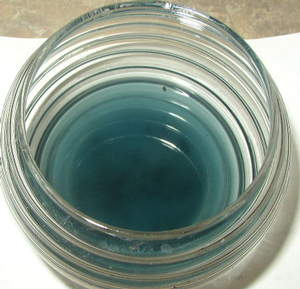
At this step (after wax has been in hot water for 15-30 mins) your wax should be melted. Remove the jar (please use caution when picking up the jar...it is hot!) and place it on a piece of paper towel or paper. Let the wax cool for a few minutes before going on to the next step.

Step 6

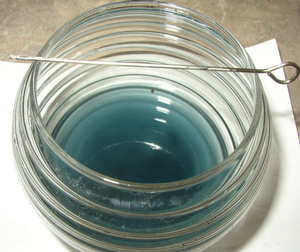
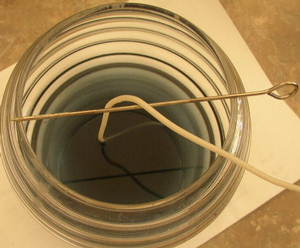
After the wax has cooled for a bit, it is time to place the wick into the wax. This is where you will be using the skewer or whatever else you will be using to hold the wick in place.

Step 6a

Skewer on top of jar.

Step 6b

Place the wick (metal edge in first) in the wax until it settles on the bottom of the jar. Make sure the wick is straight up and down.

Fold the top of wick over the skewer so that it stays in place. Let the wax cool until it solidifies.

**Side Note: You can speed up the cooling process by placing the jar in the refrigerator for about 5 minutes.

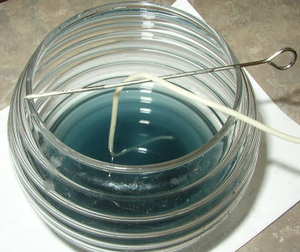
Another View

This is another view (with better lighting for those who want brighter shots) of the wicking process.


Finale

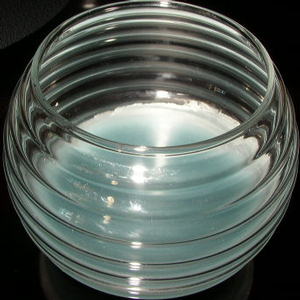
And here it is.....the finished product! You can add more wax to the jar, but I preferred a more subtle effect.

There is so much information out there about how to make candles, but for those of you who don't like to waste things (like me) this is a good starting point. Just imagine all the different kinds of candles you can create by just using your old tired candle!

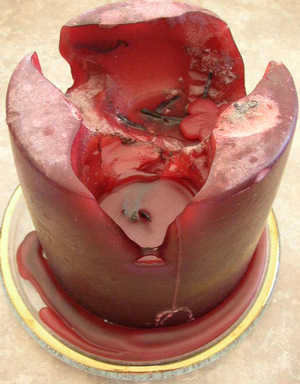
Does Your Candle Look Like This?

All too often you will have a large, gorgeous candle for your home and when you light it, it ends up like this one (see left photo).

What a shame for a beautiful candle!! But wait...don't throw that candle out just yet!! Just imagine how many votive lights you could create from just this one candle!

First thing you need to do is clean up the candle....scrap off any match residue and any other thing you don't want ending up in the melted wax (such as glitter, beads, trinkets).

Second, cut it up into small pieces. If you try to melt this large candle, it might take a long time to melt and make an even bigger mess!

Third, melt the wax pieces one by one until all are melted. Pour (with an old ladle) wax into votive glasses and let cool down for a few minutes. Don't forget to add the wicks in before they solidify.

Viola! You just created enough votive candles for your holiday party! For holiday fun: As party favors, wrap the votives up in a metallic mesh fabric and tie it off with handprinted name tags. Your guests will love you for it!

Have fun!

To ask questions or make comments about this project, please email us at: projects@peaydesigns.com. If you have tried this project (as shown above) please let us know! Send pictures to show how yours turned out!!

2003© Peay Designs


<< Previous Contact us: info@peaydesigns.com Next >>